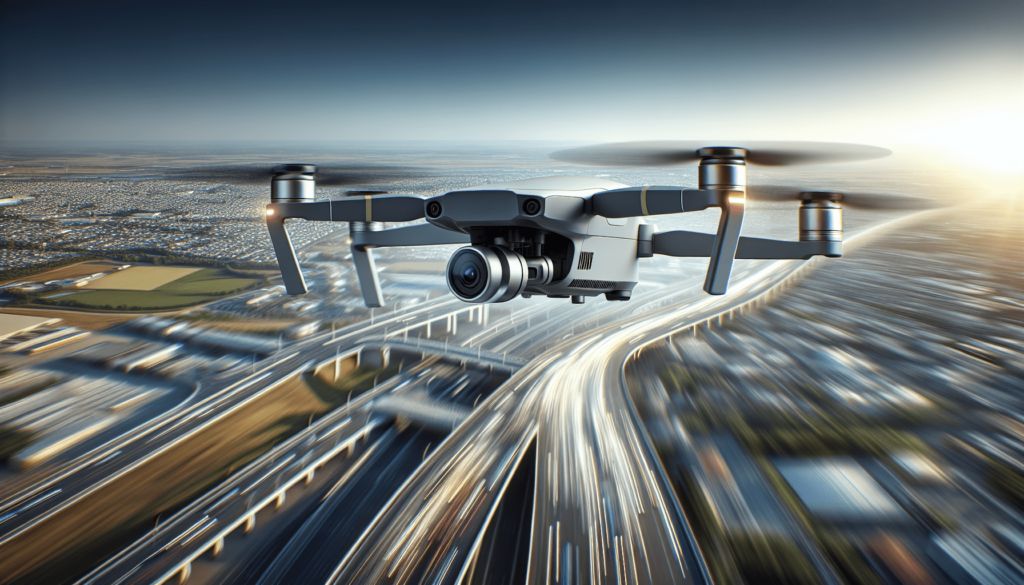
Have you ever wondered how photographers manage to freeze those dazzling moments when everything is moving at lightning speed? It’s a little like trying to catch lightning in a bottle. We find it exhilarating yet challenging, especially when our subjects are airborne. The world of aerial photography opens up endless opportunities but requires a certain finesse—particularly when the earth beneath us is only a blur and the sky envelops us ceaselessly.
Embarking on this sky-high adventure, we recognize the need for precision and creativity in equal measure. We all want to capture those fleeting instances of magic that often last only seconds. Whether we’re snapping shots at a bustling airshow or immortalizing speedy athletes at overhead angles, capturing fast-moving subjects from the sky is no small feat. So, where do we begin?

Understanding Aerial Photography
Aerial photography involves capturing images from an elevated position, typically using drones, airplanes, or helicopters. For us, it’s about embracing a unique vantage point that, quite literally, changes our perspective. This art form offers stunning visuals, providing the opportunity to frame landscapes and events in ways we can’t possibly appreciate from the ground.
Types of Fast-Moving Subjects
Identifying the types of fast-moving subjects we might encounter helps tailor our approach. Here are a few common ones:
- Aircraft: From acrobatics at airshows to commercial planes in transit, these subjects test our timing and focus.
- Wildlife: Birds in flight or herds on the move—navigating unpredictability is a challenge but deeply rewarding.
- Sports: Consider events like marathons, cycling races, or water sports, where athletes push their limits.
- Vehicles: Fast-moving cars or motorbikes present a thrilling yet complex dynamic to capture from above.
Getting the Right Equipment
Before taking off into the great blue yonder, we first need to ensure we have the right gear. Having the right equipment can dramatically affect our results and level of frustration.
Cameras and Lenses
Choosing the right camera and lenses can be daunting, but here’s a quick guide:
| Equipment | Recommendation |
|---|---|
| Camera Body | DSLR or Mirrorless with fast AF |
| Lenses | Telephoto for reach, wide-angle for context |
| Sensor Size | Full-frame or APS-C for detail |
We should aim for a camera known for fast autofocus (AF) and continuous shooting speeds. This allows us to lock onto subjects swiftly and keep them in our sights as they zoom across our frames.
Drone Selection
For those of us opting to use drones, here are some considerations:
- Stability: Opt for a drone with excellent flight stability to minimize blur from vibrations.
- Speed: High-speed drones help track quicker subjects more effectively.
- Camera Quality: A drone with a high-quality camera that offers manual controls is ideal.
Essential Accessories
Accessory additions can make our shooting experience more efficient:
- Gimbals: Vital for smoothing out shakes, especially in tough weather.
- ND Filters: Useful for controlling light exposure and capturing motion blur effectively.
- Extra Batteries: Always essential, as aerial shoots can be power-hungry.
Mastering Camera Techniques
This is where our creativity meets technical prowess. Mastery over our camera settings and techniques can turn obstacles into opportunities for breathtaking images.
Shutter Speed and Aperture
The first setting we usually adjust is our shutter speed. For fast subjects, setting a high shutter speed (1/1000s or faster) minimizes motion blur. But let’s not forget about aperture, which affects light intake and depth of field. A balanced aperture ensures we capture not only clarity but the desired ambience.
Autofocus Modes
Understanding our camera’s autofocus modes makes a world of difference. Continuous Autofocus (AF-C) allows our lens to follow the subject’s motion persistently. To assist, we often use burst mode—holding down the shutter for a flurry of shots, ensuring at least one perfect capture amidst the chaos.
Panning Technique
When subjects speed past horizontally, we may employ the panning technique. This involves moving our camera at the same speed as the subject, resulting in a focused subject against a pleasingly blurred background. It takes a bit of practice but delivers compelling motion effects once mastered.
Choosing the Right Time and Location
Timing and location are pivotal. Different times of day and various locations can make or break our shot.
Ideal Times for Shooting
Natural lighting provides invaluable aesthetic benefits. Golden hours—sunrise and sunset—offer soft, warm tones, while overcast conditions diffuse light, lending an even quality perfect for fast movement. High noon might present harsh shadows, but used creatively, these can add drama.
Location Scouting
Scouting locations well in advance can help us spot ideal vantage points. Elevated positions offer better lines of sight, while open landscapes allow us to follow subjects without obstruction. Plus, knowing potential safety hazards helps us avoid unwanted risks.

Mastering Light and Composition
Capturing fast-moving subjects isn’t just technical; it’s about storytelling through composition and light manipulation.
Framing Techniques
When scenery rushes by, paying attention to composition remains crucial. Here are techniques we swear by:
- Rule of Thirds: Positioning the subject along grid lines creates balance.
- Leading Lines: Using roads, rivers, or natural lines guides viewers’ attention to the subject.
Harnessing Natural Light
Knowing how to play with natural light enhances our images drastically. Silhouettes at dusk can highlight the motion’s grace. Conversely, brightly lit scenes during noon emphasize energy.
Leveraging Post-Processing
As much as we’d love to get every shot perfect straight out of the camera, reality doesn’t always cooperate. Post-processing allows us to finesse those final touches, enhancing our aerial captures.
Software Tools
Several tools can refine our images:
- Adobe Lightroom: For exposure adjustments, color correction, and cropping.
- Adobe Photoshop: Ideal for more intricate enhancements and object removals.
- Capture One: Known for superior color grading capabilities.
Editing Tips
When editing, our goal is to enhance without overdoing. Sharpen just enough to define motion, adjust exposure to balance highlights and shadows, and tweak colors to bring out vibrancy that complements the subject’s dynamism.
Safety and Regulations
Finally, a word on safety and regulations. High-flying adventures come with responsibilities, particularly when using UAVs like drones.
Understanding Regulations
We must familiarize ourselves with local aviation rules and constraints:
- Flight Permissions: Certain areas require permission for aerial photography.
- No-Fly Zones: Be aware of restricted areas near airports or military bases.
- Altitude Limits: Ensure we stay within prescribed airspace limits for safety.
Prioritizing Safety
Always prioritize safety! Ensuring our gear is in tip-top shape, monitoring weather conditions, and conducting pre-flight checks are vital. And, always keep an eye on battery life to prevent untimely landings.
Our Aerial Photography Journey
We’ve taken on quite the journey, haven’t we? Capturing fast-moving subjects from above is about balancing technical skill with creative vision. With the right equipment, techniques, and a little bit of finesse, we can immortalize those elusive moments that pass us by in the blink of an eye. Together, let’s continue exploring the skies—our photos are waiting.
This endeavor isn’t purely about getting “the shot” but enjoying the process. The moments we capture are as much about the memories we create in pursuit. So, let’s adjust our cameras, prep our gear, and soar skyward. The horizon beckons—our next great capture lies just beyond it.
![7 Essential Aerial Photography Tips For Beginners [2025]](https://droneaperture.com/wp-content/uploads/2025/01/7-essential-aerial-photography-tips-for-beginners-2025-1-300x171.png)

