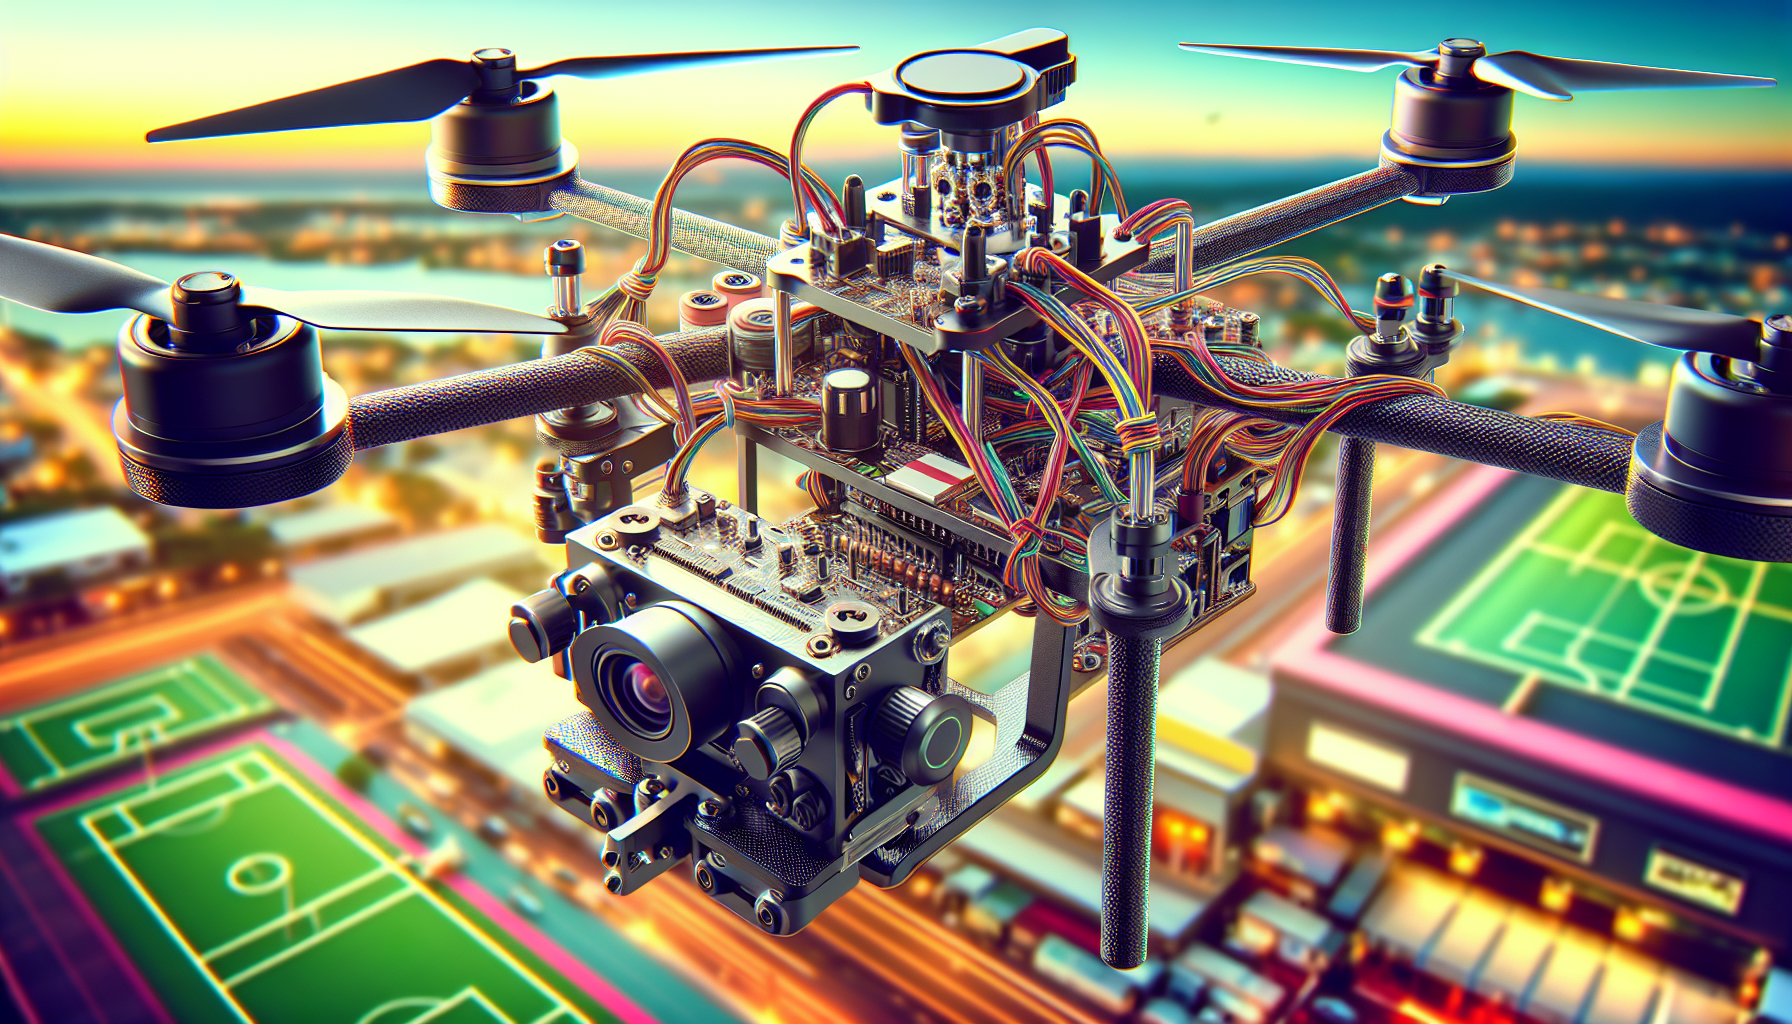
Have you ever found yourself standing in a field with an FPV drone in hand, wondering if today’s the day you’ll finally achieve those buttery-smooth cinematic shots? Maybe you’ve been eyeing that quirky move your friend’s drone can do, and you wish yours could match that level of sophistication. Ah, the joys of tinkering and tweaking our gadgets to extract just a little more magic from them. But fear not, for in this article, I’ll gently guide you through the enchanting process of installing a gimbal controller on your drone using either STorM32 or SimpleBGC. Think of it as a fun, mechanical puzzle game that results in your drone capturing aerial footage that even a bird would envy.

Understanding Gimbal Controllers
What on Earth is a Gimbal Controller?
Before we plunge headfirst into installation, it’s important to get cozy with the idea of what a gimbal controller actually is. A gimbal controller is a nifty piece of technology that allows your camera to stay level and stable even as your drone dances wildly through the air. It’s like having a miniature acrobat sitting atop your drone, ensuring your footage remains smooth and professional rather than haphazardly jarring.
If you’re still working on leveling up your footage overall (not just stabilization), you’ll also want to read this practical guide: Step-by-step aerial photography tips for perfect drone shots.
STorM32 vs. SimpleBGC: What’s the Difference?
You might already have a preference for either STorM32 or SimpleBGC, but if not, let me whisper a few sweet nothings about each, so we can figure this out together. STorM32 is known for its affordability and open-source software, creating a playground for those who are tinker-friendly. Whereas SimpleBGC, short for Simple Brushless Gimbal Controller, tends to be the darling of the professional crowd due to its refined performance and user-friendly interface. Your choice will largely depend on a balancing act of budget, experience, and personal preference, much like choosing between cake or pie.
Pre-Installation Preparation
Gathering the Right Components
Let’s talk shopping lists. Much like preparing a cake, you need all the ingredients at hand before you start cooking. The core items you’ll need for either installation process are:
- Gimbal Controller Board (STorM32 or SimpleBGC)
- Brushless Gimbal Motors
- IMU Sensor Module
- Connection Cables
- Power Supply (Battery or External Power Source)
- Computer with Configuration Software
To simplify this, here’s a handy little table for you:
| Component | Where to Buy | Notes |
|---|---|---|
| Gimbal Controller Board | Online retailers | Choose based on preference |
| Brushless Gimbal Motors | FPV shops or online | Ensure compatibility with your drone |
| IMU Sensor Module | Included with board or separate | Verify package contents |
| Connection Cables | FPV shops or online | Often included, but check first |
| Power Supply | Drone or electronics stores | Match your drone’s power needs |
| Computer & Software | Laptop/PC with internet | Download software from website |
Preparing Your Drone
Before we roll up our sleeves and get our hands dirty, let’s prepare the drone for surgery. Ensure it’s clean, fully charged, and stripped of any pre-existing gimbal parts that might cause hiccups during installation. Think of it like cleaning a kitchen before baking—a clear workspace equals a clear mind.
If you’re currently flying an “all-in-one” style beginner/cheap FPV drone, note that gimbal upgrades aren’t always frame-friendly—some of these models are built for light payloads. This review helps you sanity-check expectations: 2025 FPV drone with 4K dual HD cameras review.

Installing STorM32
Step 1: Mount the Motors
Secure the brushless gimbal motors to the drone’s camera mount. It’s akin to placing keystones in an arch; these motors must be solidly affixed to provide stability. Keep an eye on the alignment, ensuring nothing is skewed, because wonky gimbals are nobody’s friend.
Step 2: Connecting Your STorM32 Board
Now that your motors are in place, it’s time to connect the STorM32 board. Using the cables, connect the board to the motors and IMU module, like threading a delicate scarf through a loop. Most boards come with ports that are labeled, making this step much like piecing together a charming puzzle.
Step 3: Power Up and Configure
Once all components are connected, give life to your setup by connecting the power supply. Much like Frankenstein’s monster (but in a much friendlier way), your gimbal is ready for its first jolt of electricity. Boot up your computer and launch the STorM32 configuration software. Here you’ll calibrate the motors and IMU for optimal performance. It’s a bit like setting the proper tension on your cello strings, requiring a bit of finesse to strike the perfect balance.
If your end goal is “cinematic smooth,” remember: stabilization + camera quality go together. If your camera sensor and bitrate are weak, gimbal smoothness won’t magically create detail. Here’s a useful comparison-style reference point: Drone with camera 1080p review.
Installing SimpleBGC
Step 1: Assemble the Motor Mechanism
Just as we did with STorM32, begin by mounting your gimbal motors with all the dexterity of a squirrel gathering acorns. The alignment should be perfect, offering a solid anchor for the controller board to work its magic.
Step 2: Connect the SimpleBGC Board
Now let’s attach the SimpleBGC board to the rest of your ensemble. Using the provided cables, fasten the board to the brushless motors and IMU sensor. It’s an operation made simple by thoughtful labeling, much like matching socks fresh out of the dryer.
Step 3: Configure the Setup
Plug the system into a power source and jump over to your computer for the software configuration. Launch the SimpleBGC GUI software, which is user-friendly and allows easy fine-tuning of your gimbal’s performance parameters. Consider this your final tune-up before sending your drone skyward.
If your build is meant to graduate into true 4K footage, here’s a relevant supporting read for shoppers and beginners you might send to next: Drone with 4K camera RC quadcopter review.
Testing the Setup
Ensuring Everything is Shipshape
Having attached and configured everything, it’s time for a test flight. This is where our hard work aligns with destiny. Take your drone to a wide-open space and start with slow, deliberate movements to observe how the gimbal responds. If everything goes well, the footage will be as smooth as butter on toast.
Troubleshooting Common Problems
In case you experience issues, be it jittery footage or unresponsive motors, don’t fret. Check the cable connections and review the board settings. There’s no harm in retracing your steps to ensure every component is rightly fitted, much like making sure you actually zipped your jacket when it’s a little chillier than expected.
Optimizing Gimbal Performance
Fine-Tuning the Configuration
Whether you’re a perfectionist who rejoices in the tiny details or this is merely your side hobby, fine-tuning your gimbal settings could bring out the best in your drone. Use the software to adjust parameters such as motor power and sensitivity. This is where even a small nudge could yield a colossal improvement to your aerial shots.
Regular Maintenance
Like any mechanical or electrical gizmo, maintaining the gimbal is crucial for longevity. Regularly check for any wear and tear, and ensure all connections remain secure. It’s much like caring for a fine piece of machinery or even a pet. Attention and affection will ensure it serves you for many stunning flights to come.
If your audience includes people shopping for a first “serious” camera drone (instead of a pure FPV build), this is a natural related link to keep them on-site: Holyton drones with camera for adults 4K review.
Conclusion
Installing a gimbal controller such as STorM32 or SimpleBGC on your FPV drone adds a new layer of sophistication to your flying experience. In truth, it’s less about the mechanics and more about the joy of breathing extra life into your drone, and the creative possibilities it opens up. Whether it’s a leisurely fly-over of a golden wheat field, or capturing your friend’s airborne antics in crystal-clear clarity, a gimbal controller transforms your aerial footage from amateur to illustrious. So, my friend, go on and revel in the mechanical ballet that is gimbal installation, and may your flights be enduring, smooth, and full of wonder.
![Best Gimbal For DJI Mini 4 Pro In 2025 [Top Picks + Quick Deals]](https://droneaperture.com/wp-content/uploads/2025/06/best-gimbal-for-dji-mini-4-pro-in-2025-top-picks-quick-deals-1-300x171.png)
![Top 5 Drone Gimbals For Cinematic Footage Under $500 [2025 Tested]](https://droneaperture.com/wp-content/uploads/2025/06/top-5-drone-gimbals-for-cinematic-footage-under-500-2025-tested-300x171.png)
