Have you ever found yourself in a situation where your drone’s gimbal needs replacing, but the thought of possibly messing up the calibration keeps you from taking the leap? It’s like being on the verge of a daring adventure and then pausing at the last moment, worried about the consequences. I totally get it; the delicate art of gimbal replacement can seem intimidating. But fret not, because I’m here to help you navigate this tricky terrain. Let’s turn what could be a daunting task into a delightful journey of discovery.

Understanding the Role of the Gimbal
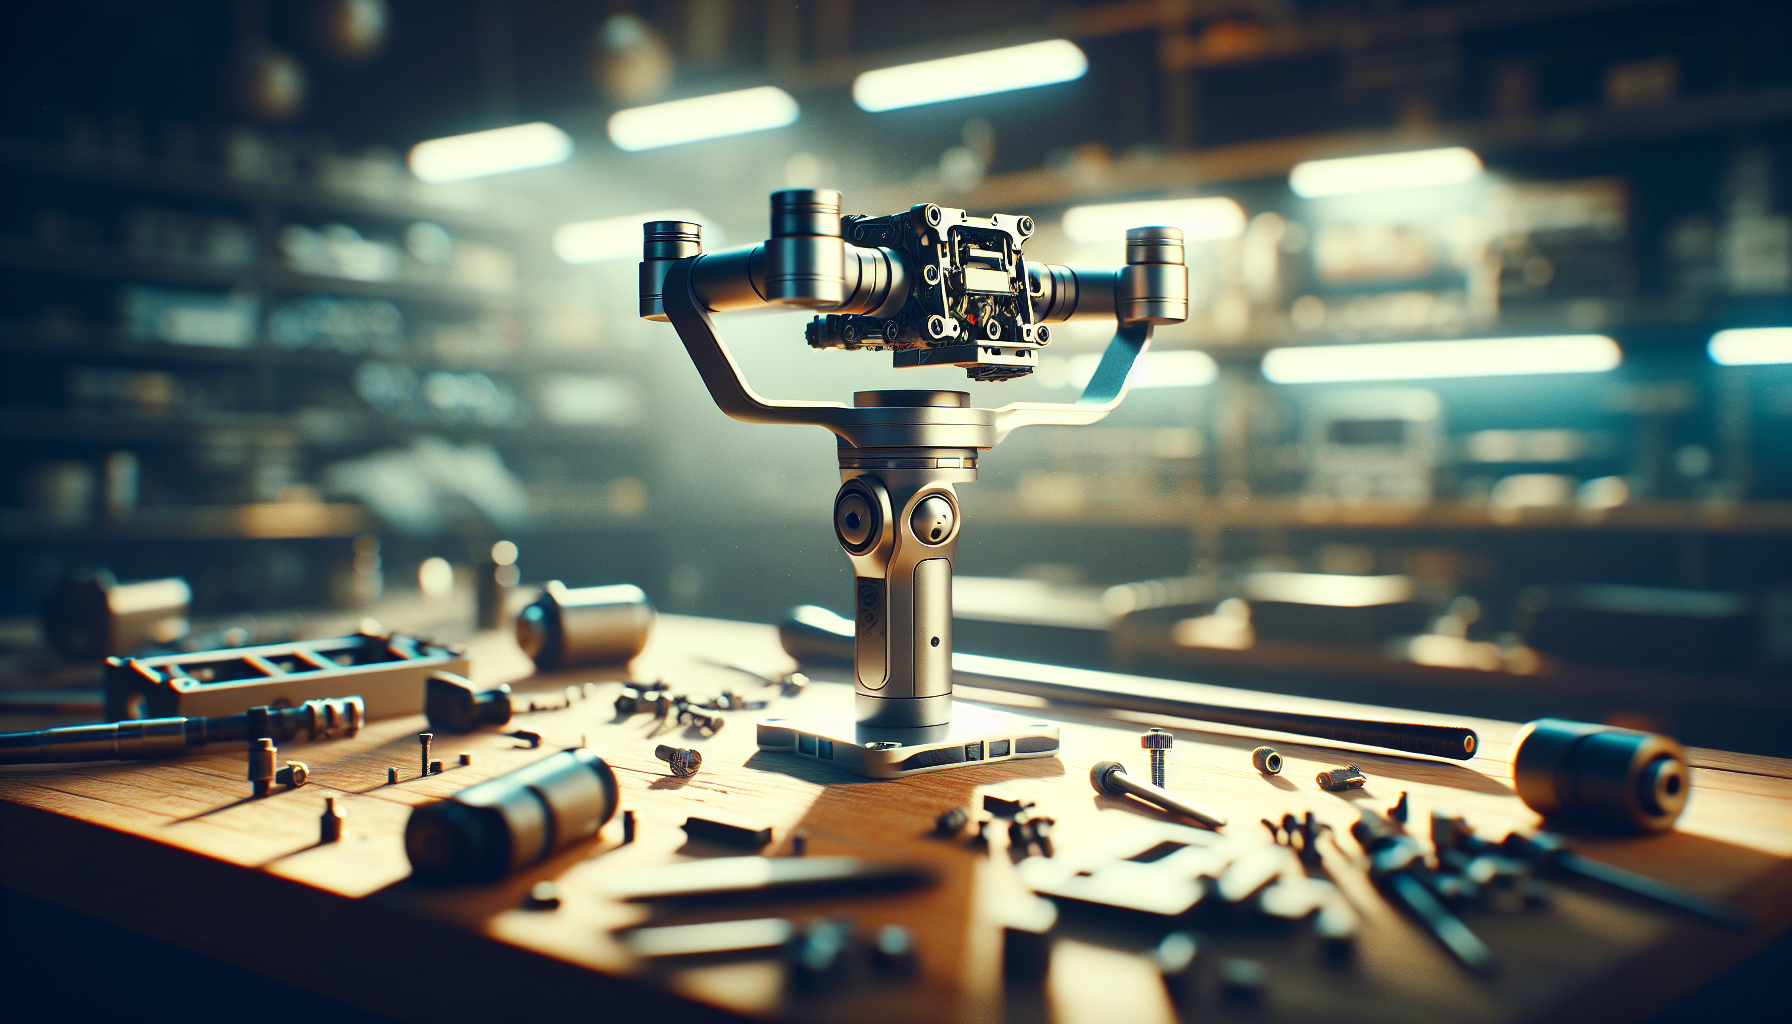
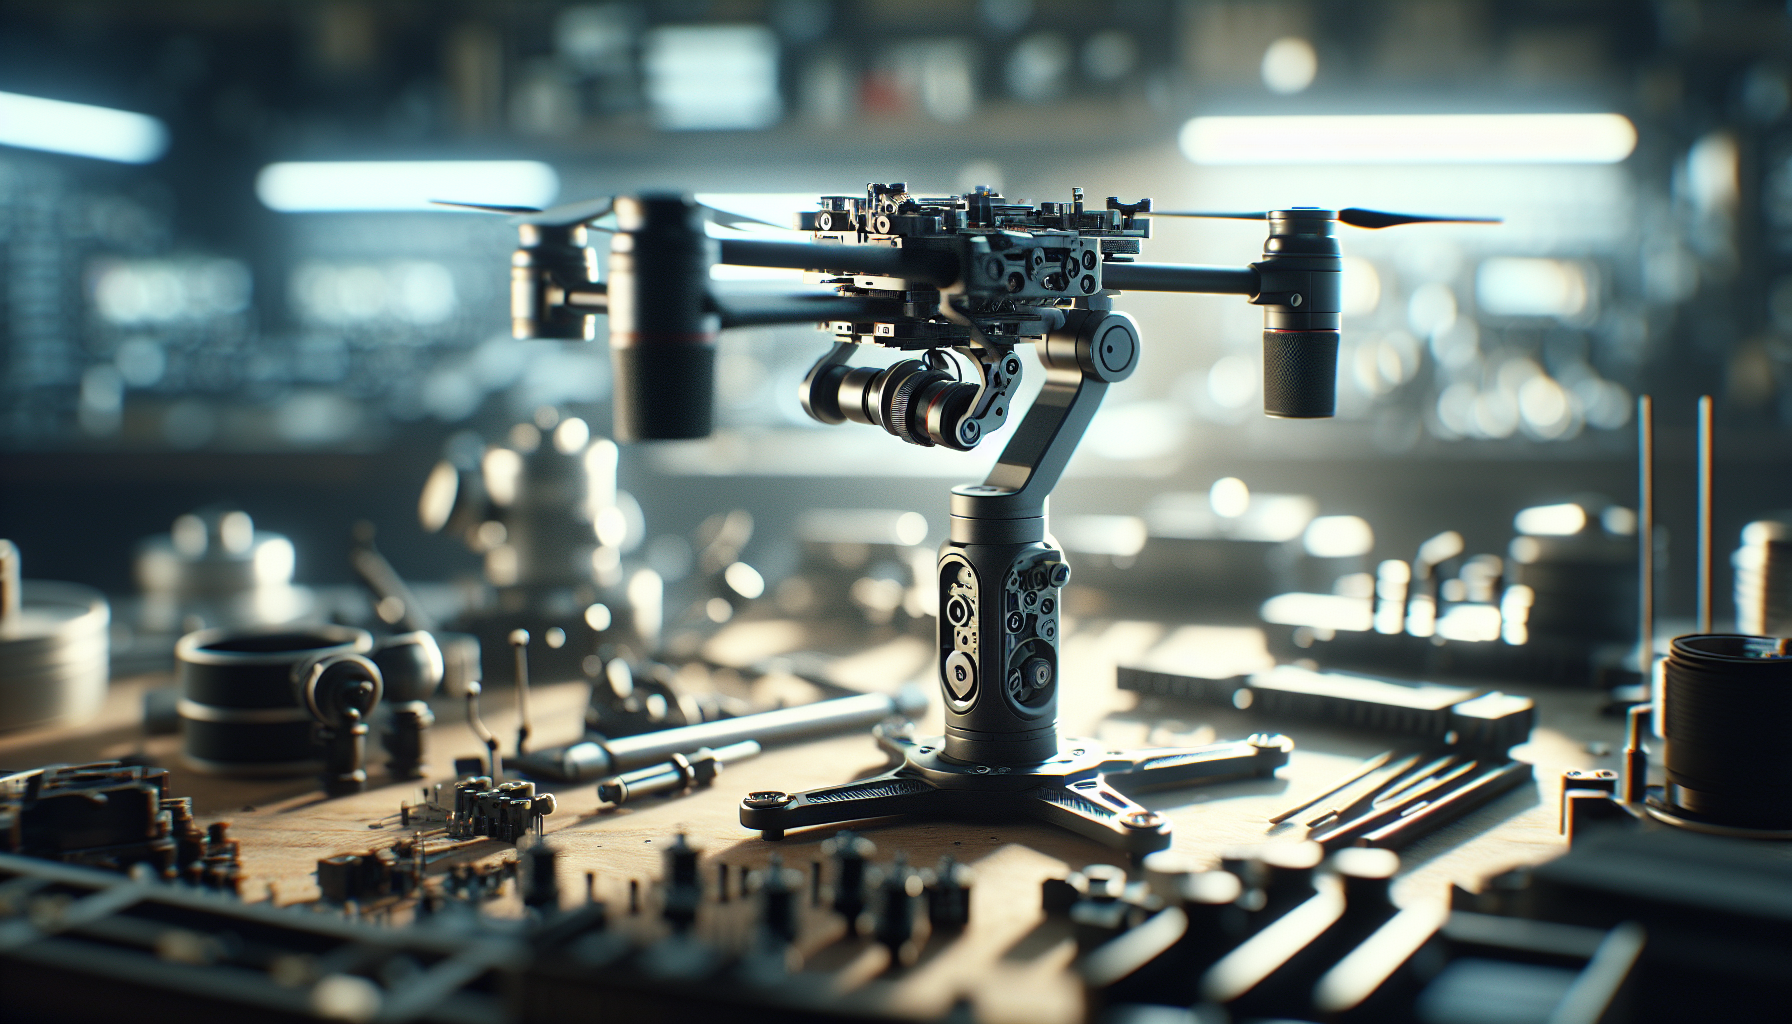
First things first, let’s understand what a gimbal does. In simple terms, a gimbal is the part of your drone that keeps the camera steady. Picture it as the sophisticated ballet dancer of your drone’s mechanics, ensuring the camera remains level and capturing stunning shots while the drone swoops and dives in the sky. The gimbal’s job is crucial for obtaining clear, smooth footage and photos, making it an integral component of your drone.
How a Gimbal Keeps It Steady
Think of the gimbal as the silent hero working tirelessly behind the scenes. It uses pitch, roll, and yaw movements to stabilize the camera, compensating for any sudden shifts the drone might experience. Without a properly functioning gimbal, your aerial photos would look like they were taken during a bumpy roller coaster ride.
When Does a Gimbal Need Replacing?
A gimbal could need replacing for several reasons. Perhaps you had an unfortunate crash, and now it’s being stubborn and unresponsive, like a child refusing to leave the playground. Or maybe there’s wear and tear from regular usage. Determining when a replacement is necessary can save you from accumulating frustration, not to mention improve the quality of your drone photography.
Preparing for the Replacement
Now that we know what we’re dealing with, let’s get ready to tackle the replacement. Preparation is key; it’s like laying out all your ingredients before whipping up a new recipe.
Gather the Necessary Tools
Before embarking on this task, make sure you have all the tools required for a smooth operation. Typically, you need small screwdrivers, tweezers, and possibly a heat gun for any adhesive parts. Here’s a helpful table summarizing what you might need:
| Tool | Purpose |
|---|---|
| Screwdrivers | Removing screws |
| Tweezers | Handling small parts |
| Heat Gun | Soften adhesive if necessary |
| Cloth | Cleaning dust and debris |
Choose a Suitable Workspace
Selecting the right workspace is like choosing the perfect setting for a family gathering. It should be clutter-free, well-lit, and with enough space to accommodate your drone and all the tiny parts you’ll be working with. Having a comfortable and organized workspace can make the process much less stressful.
Charge Up and Power Down
Before starting, make sure your drone has a full battery. You don’t want it dying on you halfway through calibration checks later. However, always remember to power it down completely before you begin the replacement to avoid any needless trouble.

Step-by-Step Guide to Replacing the Gimbal
It’s showtime! Just like following a new recipe, it’s essential to go step by step. Here’s a detailed guide to help you replace the gimbal without messing up the calibration.
Step 1: Remove the Drone Battery
Safety first! Before doing anything, remove the battery from your drone. This is a precautionary measure to avoid any electrical mishaps. Be gentle, like holding a puppy for the first time.
Step 2: Detach the Old Gimbal
With your screwdriver in hand, carefully remove the screws holding the gimbal in place. Keep them safe; they’re like tiny, valuable relics you might need later. Remember to disconnect any cables attached to the gimbal. Take your time with this step—being meticulous is much better than risking damage.
Step 3: Clean the Connectors
Before attaching the new gimbal, make sure the connectors on the drone are free from dust and debris. A simple wipe with a clean cloth can do wonders. It’s like dusting off an old book, making sure it’s ready to be read again.
Step 4: Install the New Gimbal
Now it’s time to place the new gimbal where it belongs. Align it carefully and connect all the necessary wiring. Remember those screws we saved earlier? Here’s where they come back into play. Secure the gimbal in place, but be careful not to over-tighten.
Step 5: Double-Check Connections
Before proceeding further, ensure all connections are firm and secure. It’s like checking the knots before going rock climbing—crucial for a safe experience.
Ensuring Proper Calibration
Congratulations on getting the new gimbal in place! But wait, we’re not done yet. It’s time to ensure the calibration is spot on so your drone performs at its best.
Why Calibration Matters
Calibration ensures that your drone and its gimbal are communicating perfectly, just like a well-rehearsed dance duo. Without it, you might end up with footage that’s less than stellar.
Step-by-Step Calibration Guide
Here’s a guide to ensure everything runs smoothly:
- Power On: First, place the battery back and power up your drone.
- Access Calibration Mode: Depending on your drone model, this may involve specific app settings. Usually, something involving the drone’s app accompanies this step.
- Follow Calibration Instructions: Let the app guide you through the calibration process. Just as a GPS directs you to your destination, these instructions aim to keep everything aligned.
- Test Flight: Take your drone out for a gentle test flight. Pay attention to how the camera responds. If the footage is smooth, you’ve mastered this replacement.
Troubleshooting Common Issues
Sometimes, despite our best efforts, things might not go as planned. Don’t let this discourage you; like learning to ride a bike, perfection comes with practice.
Camera Still Off Balance?
If your camera footage is wobbling, it may need recalibration. Go back to the calibration settings and give it another try. Patience is your best ally here.
Gimbal Not Responding?
Double-check all connections. Sometimes, a loose cable can be the culprit. Like finding a needle in a haystack, thorough inspection can reveal hidden issues.
Conclusion
Replacing your drone gimbal without messing up the calibration might seem like maneuvering through a minefield. However, with the right preparation, tools, and a bit of patience, it’s entirely achievable. Embrace the process, learn from any stumbles, and soon enough, you’ll be soaring with confidence, capturing stunning aerial shots once more. Remember, every journey, including this mechanical adventure, begins with a single, well-planned step. Happy flying!
![Best Gimbal For DJI Mini 4 Pro In 2025 [Top Picks + Quick Deals]](https://droneaperture.com/wp-content/uploads/2025/06/best-gimbal-for-dji-mini-4-pro-in-2025-top-picks-quick-deals-1-300x171.png)
![Top 5 Drone Gimbals For Cinematic Footage Under $500 [2025 Tested]](https://droneaperture.com/wp-content/uploads/2025/06/top-5-drone-gimbals-for-cinematic-footage-under-500-2025-tested-300x171.png)
