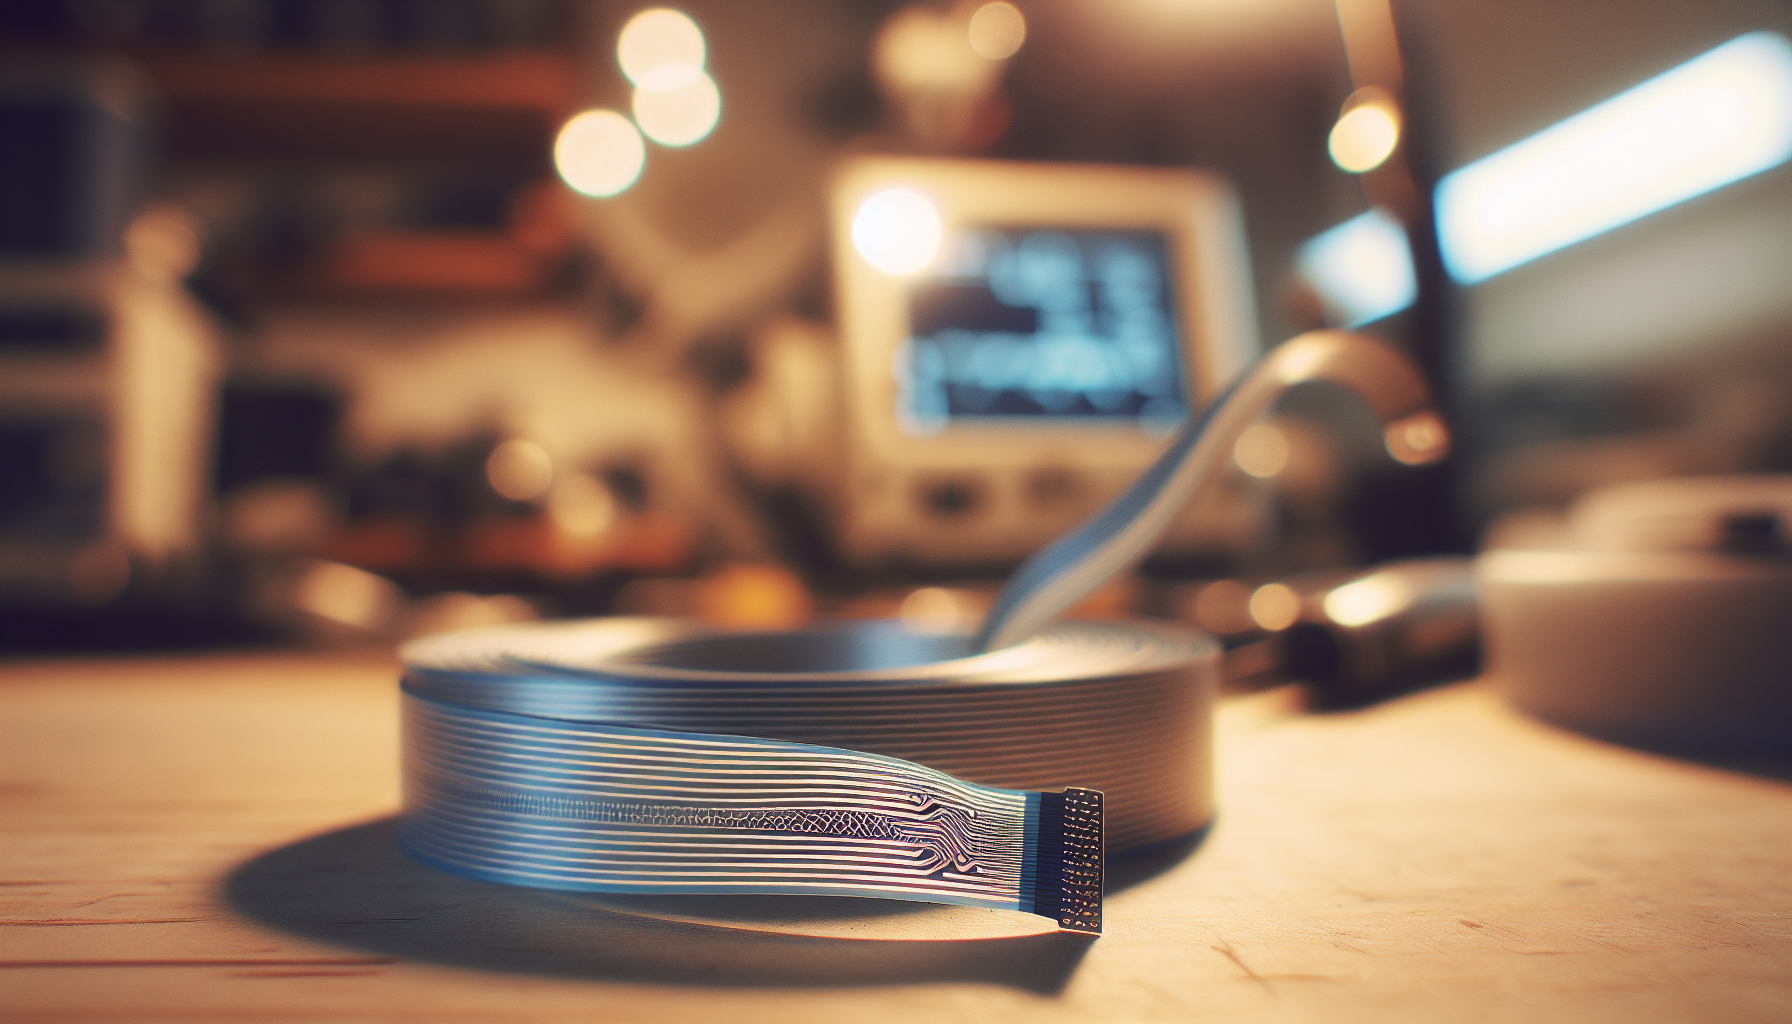
Have you ever been in the middle of an important shoot, capturing perfect footage, when suddenly your gimbal starts malfunctioning? Perhaps it’s wobbling uncontrollably, or worse, it’s simply lifeless. At times like these, I can usually hear the faint, apologetic squeak of what looks like a minor tear in the gimbal ribbon cable. Today, I’m going to walk you through the repair steps for a torn gimbal ribbon cable and share my picks for the best replacement options.

Understanding the Gimbal Ribbon Cable
Before getting our hands dirty, it’s crucial to understand this tiny yet significant component. The gimbal ribbon cable is like the spinal cord of your gimbal. It transmits signals from the camera to the gimbal’s motors, enabling smooth movement and stabilization. Given its flexible nature, it is prone to tears, especially after constant folding, unfolding, and general wear and tear.
Why Does the Ribbon Cable Tear?
When I first encountered a torn gimbal ribbon cable, my go-to reaction was panic, followed by a hasty YouTube search. But over time, I’ve learned the subtle signs that precede a complete breakdown. These cables can wear out for several reasons:
- Frequent Bending: The constant movement and folding during usage and packing can wear the cable.
- Exposure to Elements: Heat, cold, moisture, and dust can accelerate the deterioration.
- Mechanical Stress: Improper handling, such as forceful yanking or accidental tugging, can easily tear the cable.
Now that we understand the “why,” let’s focus on the “how” of repair.
Repair Steps for a Torn Gimbal Ribbon Cable
Repairing a gimbal ribbon cable might sound daunting, like asking me to knit a sweater without instructions, but it’s quite manageable. Follow these steps with care, and your gimbal will be up and running in no time.
Step 1: Gather Required Tools
Nothing beats being prepared. Ensure you have the following tools at hand:
| Tool | Purpose |
|---|---|
| Screwdriver Set | For opening the gimbal casing |
| Tweezers | To handle the delicate ribbon cable |
| Soldering Kit | If soldering is required to secure connections |
| Adhesive Tape | To secure the new cable in place |
| Replacement Ribbon Cable | In case the old cable is irreparable |
Step 2: Safety First
Turn off your gimbal and detach any power sources. The last thing we need is a rogue electric surge causing more damage. I’ve found this is a great moment to reflect on life’s many perils, like attempting to juggle raw eggs or rethink that karaoke rendition of “Bohemian Rhapsody.”
Step 3: Disassemble the Gimbal
Here’s where the screwdriver becomes your confidant. Remove the screws carefully and take note of where they belong. It’s like being in charge of a school reunion where each screw has a name tag. Take a photo if necessary to keep track.
Step 4: Identify the Torn Cable
Once you’re inside the gimbal’s inner sanctum, you’ll spot the ribbon cable. Examine it thoroughly to locate the tear. Sometimes the damage is obvious, like a pimple before a first date, but other times it takes some squinting.
Step 5: Remove the Torn Cable
Using tweezers, delicately detach the damaged cable from its connectors. If it’s secured with adhesive, gently peel it away. A little patience here goes a long way, just like trying to explain why pineapple on pizza isn’t such a bad idea.
Step 6: Install the Replacement Cable
Place the new ribbon cable exactly as the old one was positioned. Secure it into the connectors, ensuring it’s flat and not twisted. This step is akin to replacing shoelaces; it requires precision but is low on drama.
Step 7: Test Before Reassembly
Connect the power source briefly and test the gimbal functions. Ensure everything is working as expected. If it’s all systems go, you can proceed to reassemble. If not, this is the moment for some creative problem-solving or a soul-searching call to your tech-savvy friend.
Step 8: Reassemble the Gimbal
Carefully reattach the screws, secure every component, and double-check that everything is sitting snug. Like the final scene of a play, everything needs to be in its perfect place before the curtains close.

Best Replacement Picks for Gimbal Ribbon Cables
Deciding on the right replacement is as crucial as recognizing your Dunkin’ Donuts order. Here’s a list of reliable options that I’ve found over the years:
| Brand | Model Compatibility | Price Range | Durability Rating |
|---|---|---|---|
| Generic | DJI Ronin and similar models | $15 – $25 | 3/5 |
| DJIngenuity | DJI Osmo Mobile & others | $20 – $30 | 4/5 |
| HighFly | Multibrand Fit | $25 – $40 | 4.5/5 |
| PrecisionFlex | Brand-Specific Fit | $35 – $50 | 5/5 |
Considerations for Your Purchase
It’s easy to feel overwhelmed with options, kind of like deciding which Netflix series to binge next. Here’s what to keep in mind:
- Compatibility: Ensure the cable fits your gimbal model.
- Durability: Look for reviews or ratings about the longevity of the product.
- Ease of Installation: Some cables might come with detailed instructions, a real lifesaver for first-timers.
Maintenance Tips to Prolong Ribbon Cable Life
Now that you’ve either repaired or replaced your ribbon cable (and hopefully given yourself a pat on the back!), let’s talk maintenance. Like plants and friendships, ribbon cables thrive when taken care of properly.
- Gentle Handling: Avoid abrupt yanking or twisting.
- Proper Storage: Store gimbals in cases that prevent unnecessary bending.
- Regular Inspections: Check periodically for any early signs of wear.
- Clean Environment: Minimize exposure to dust and moisture.
Troubleshooting Common Gimbal Issues
Sometimes, even after replacing the ribbon cable, you might face some issues. Here’s a quick troubleshooting guide to address common complaints:
A Word on Professional Help
After all my escapades into the world of DIY repairs, I’ve realized that sometimes it’s okay to step back and let the professionals take the lead. If the repair feels overwhelming, or if the issue persists, consider consulting an expert. Think of it as the technology equivalent of admitting you can’t quite hit that high note in karaoke—sometimes, better left to the pros.
By tackling the ribbon cable issue head-on (or with proper help), you’re preparing your gimbal to continue supporting your passion for capturing the world around you. Whether it’s the breathtaking expanse of a mountain range or the quiet moment of dew settling on leaves, an operational gimbal paves your way to capturing it all seamlessly.
If there’s a piece of advice I would leave you with, it’s this: never let a small tear compromise your big visions. With the right tools, knowledge, and a smidgen of patience, no ribbon cable tear can stand in your way.
![Best Gimbal For DJI Mini 4 Pro In 2025 [Top Picks + Quick Deals]](https://droneaperture.com/wp-content/uploads/2025/06/best-gimbal-for-dji-mini-4-pro-in-2025-top-picks-quick-deals-1-300x171.png)
![Top 5 Drone Gimbals For Cinematic Footage Under $500 [2025 Tested]](https://droneaperture.com/wp-content/uploads/2025/06/top-5-drone-gimbals-for-cinematic-footage-under-500-2025-tested-300x171.png)
