Have you ever found yourself gazing into the abyss of filmmaking gear, pondering over the time investment required to set up your gimbal? Yes, I know, the idea might seem trivial if you’re the type who enjoys puzzling challenges, but for those of us who seek efficiency, it’s a topic that demands attention. Let’s delve into the whimsical yet technical world of gimbals—their setup times, which often range from the depths of DIY craftsmanship to the convenience of plug-and-play models. Picture this as a journey through the highs and lows of filmmaking tools, all the while offering some lighthearted commentary and real talk.

The Marvelous World of Gimbals
Gimbals serve a crucial function in the world of video production, acting as a stabilizing device that ensures your shots are smooth rather than a jittery mess. They operate thanks to motorized gimbals that work on three axes, offering stabilization sympathy you never knew you needed. They’re like the friend who steadies you at the roller rink, while you flap your arms trying not to fall over. The world of gimbals ranges widely in terms of setup time; understanding this spectrum can save you both sanity and a few (or many) minutes depending on your choice—especially if you’ve ever had your “quick build” turn into a full afternoon project because you missed something basic like the issues covered in these DIY gimbal build mistakes that cost you money.
Defining Setup Time
When we talk about setup time in the realm of gimbals, we refer to the time taken to get the gimbal operational from the point it could have been effectively used as a paperweight. Setup time encompasses everything from unpacking to the calibration necessary for the device to function as it should. It’s about making sure the gimbal knows left from right, up from down, like telling a cat and expecting it to listen. It includes charging, balancing, calibration, and sometimes updating firmware. The shorter the setup time, the more you’ll find yourself actually using it rather than contemplating its existence in your bag.
The Zen of DIY Gimbals
Entering the DIY gimbal world is like taking a deep breath and flexing your creativity. You could argue that making your own build brings with it a certain level of satisfaction—that is, if you’re the kind of person who enjoys constructing IKEA furniture without the instructions. The beauty lies in customization. Yet, the journey from a box of parts to a functional gimbal isn’t for the faint-hearted.
Time Investment for DIY Gimbals
Setting up a DIY gimbal is akin to mastering Rubik’s Cube, except the instructions are written in another dialect. This process can take hours, sometimes days, based on one’s technological prowess and available tutorial videos. It becomes crucial to possess a certain degree of patience and resolve. During this time, you’ll make discoveries not just about stabilizing video, but about yourself—how you deal with minor frustrations, patience snapping like a twig, and your capacity to feel triumph over technology. And if you want to avoid the most common traps that stretch a “simple build” into a multi-day saga, it helps to keep a checklist mindset like the one laid out in these 5 DIY gimbal build mistakes.
Advantages of DIY Gimbals
- Cost-Effective: Building your own gimbal can often be cheaper than buying a high-end commercial product.
- Resourceful Creativity: There’s a picturesque charm in knowing your hands pieced together something functional from raw components.
- Customization: DIY affords total control over the features you want integrated into your rig.
Challenges of DIY Gimbals
- Time Consuming: The primary deterrent is time. Such intricate projects demand not just time but the commitment to overcome inevitable hiccups.
- Complexity: The learning curve can be steep, especially with calibration and balancing.

The Convenience of Plug-and-Play Gimbals
Now, on the opposite spectrum, we have the plug-and-play gimbals, which are as easy as placing a frozen pizza in the oven. These are commercial pieces, designed with the sole intent of making your life easier. They’re for the filmmaker who prefers more time spent creating rather than the tinkering that consumes precious morning hours. Imagine this as the instant gratification of the tech world, snubbed only by those who thrive on unpredictability.
Setup Time for Plug-and-Play Gimbals
Unboxing one of these beauties is where the magic lies. Typically, you could go from sealed box to set-up in just about 10–20 minutes. Yes, the manufacturer’s claim might sound magical, akin to the allure of a diet shake, but they’re largely accurate. With pre-configuration features, your gimbal is often ready to go, as easily as switching it on, attaching your camera, and off you go; the gimbal dutifully following your creative vision without the backtalk. And if your goal is quick social-ready output (especially when the content is meant for newer or casual drone operators), pairing fast setup with a simpler drone can be a smart workflow—something you’ll see reflected in practical beginner-friendly options like this remote control mini drone review.
Advantages of Plug-and-Play Gimbals
- Speed: Straightforward and minimalistic setup ensures more time for capturing rather than planning.
- User-Friendly: Equipped with intuitive UI components, these are meant to cater to filmmakers across the proficiency spectrum.
- Reliability: Consistent performance is a hallmark due to established engineering and less human intervention needed.
Drawbacks of Plug-and-Play Gimbals
- Cost: Expect to fork out more than a DIY version; convenience comes at a price.
- Limited Customization: What you see is typically what you get, with few modifications possible beyond what’s standard.
Bridging the Gap: Comparing Setup Times
Let’s organize some insights in a way that even the chronologically challenged can appreciate. I’ll lay out the setup experience in a mystical table that might as well have “eat your heart out” etched into its sides.
| Type of Gimbal | Average Setup Time | Skill Level Required | Budget Consideration | Degree of Customization |
|---|---|---|---|---|
| DIY Build | 5-10 hours+ | High | Affordable to Moderate | High |
| Plug-and-Play | 10-20 minutes | Low | Moderate to Expensive | Low |
As the table suggests, the choice lies in the balance between the budget, time investment, and the craving to tinker.
Endless Pursuit of Perfection with GHs
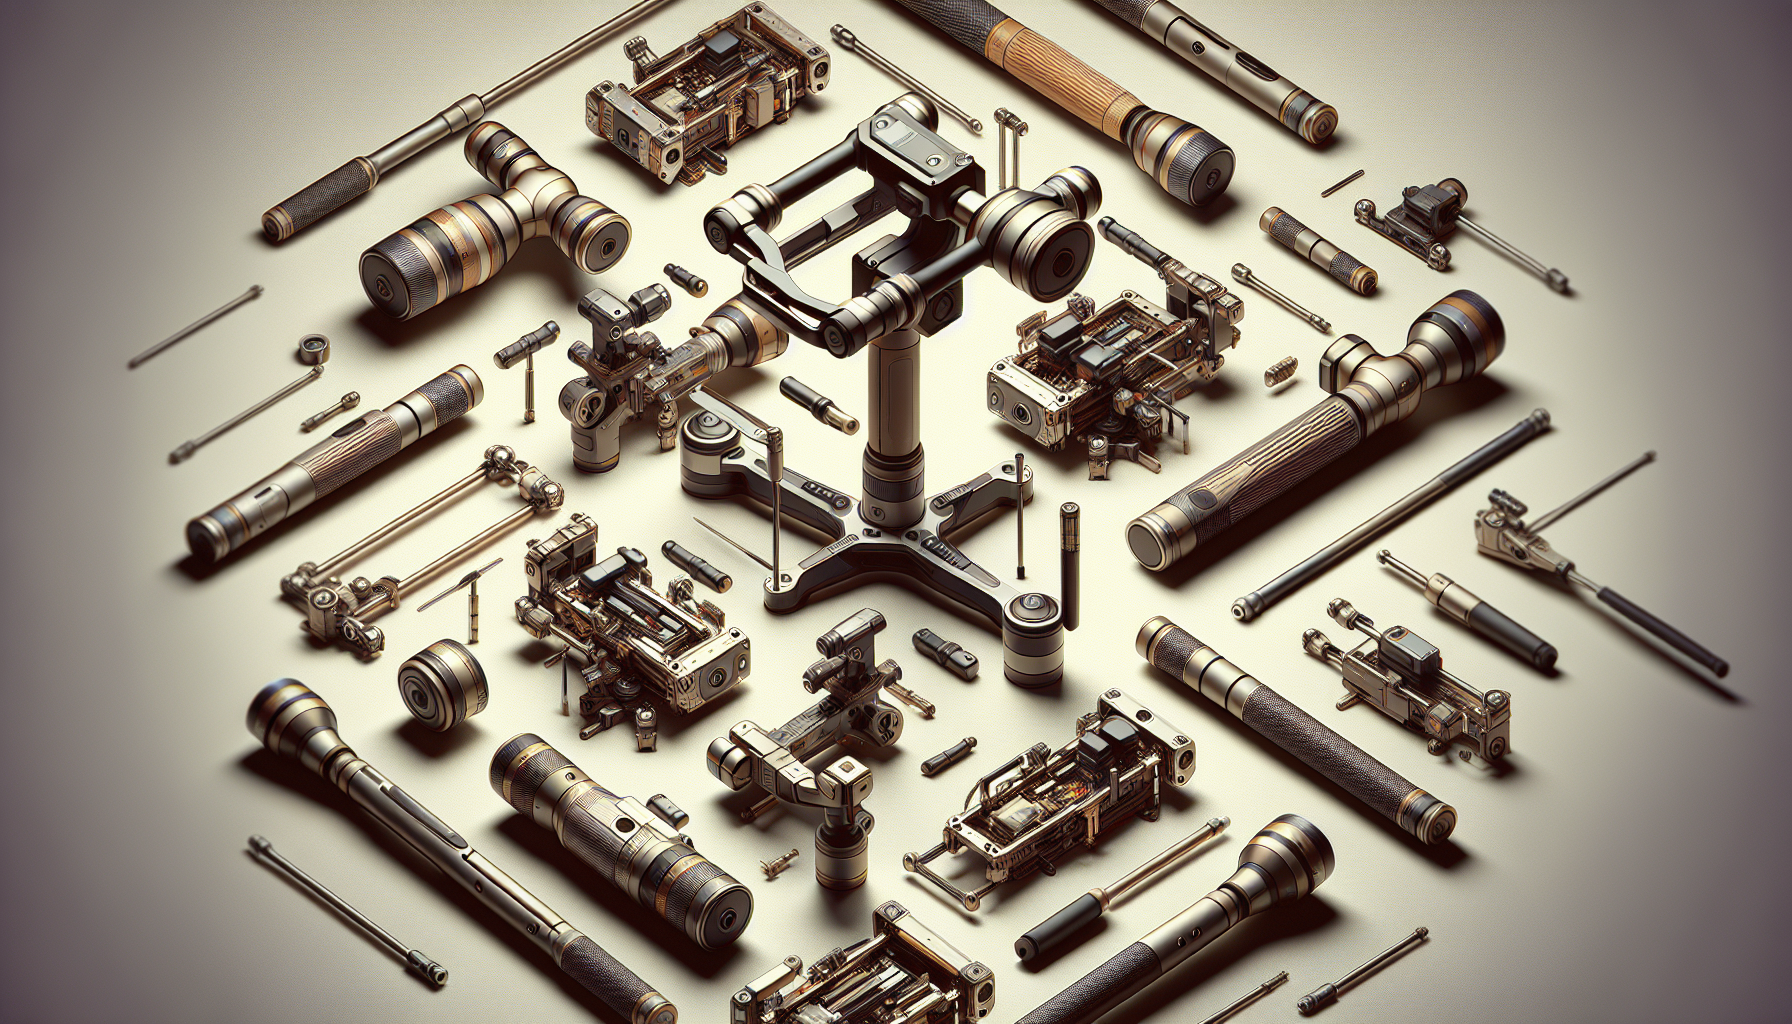
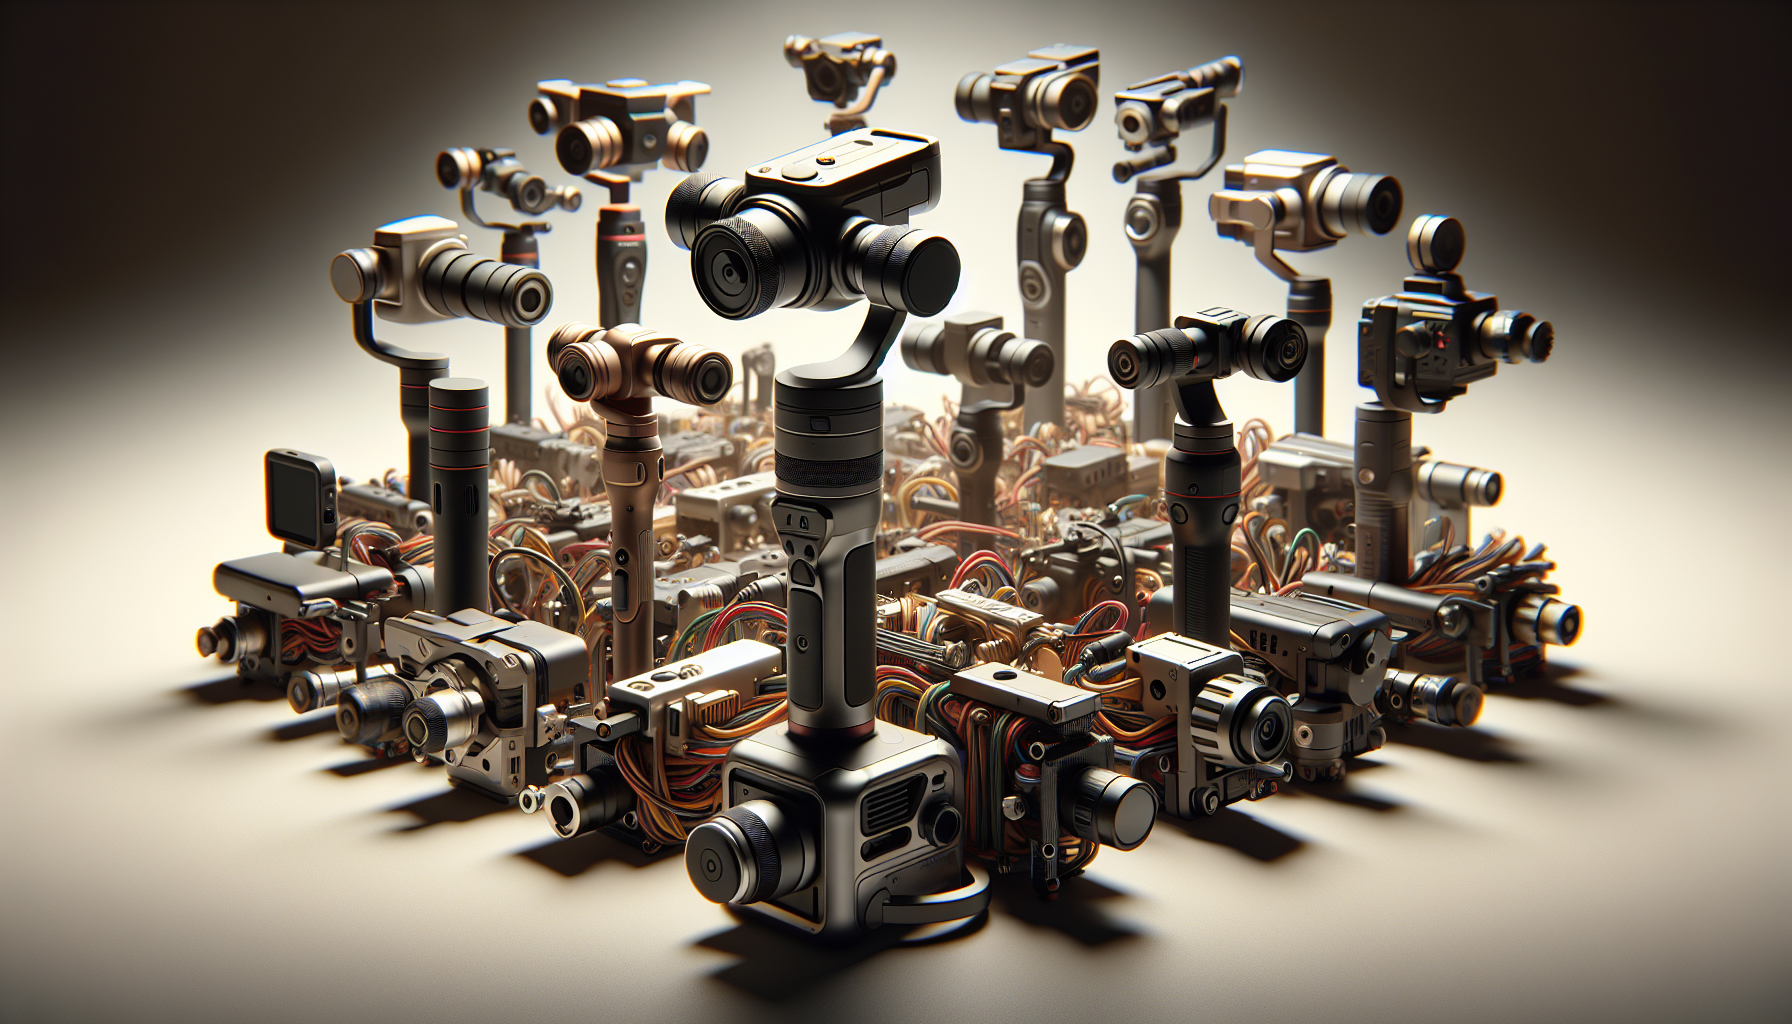
If filmmaking is your manor, consider the Gimbal House (let’s call it GH) where builders and ready-users coexist. The beauty of GH is its diversity—its residents come seeking stability in a world prone to shakiness. Within its walls, enthusiasts engage in discussions, vying to outdo one another in the realms of smallest setup times, sharing tales of their uphill battles or the smooth road experienced.
A Glance at Mid-Range Models
Somewhere in the middle-ground lives GH’s best kept secrets—the mid-range models. These not only decrease setup times from DIY but also slash costs compared to premium models. You might say they offer the best of both worlds. Although less likely to suit the ardent DIY spirit, they give a semblance of customization and are designed for those who wish to be neither too cavalier nor terribly meticulous:
Features of Mid-Range Models:
- Moderate customization levels
- Setup time typically 30-60 minutes
- Feature-packed with a reasonable price tag
And since mid-range rigs often become the “workhorse setup” for practical creators, it’s worth remembering that power management becomes part of setup speed too—because a gimbal that’s ready in 15 minutes still fails the mission if your battery workflow is chaos. If you’re comparing smarter battery ecosystems and whether they actually reduce friction long-term, see are smart drone batteries worth it (5 models compared) for the angle that most people ignore until a shoot goes sideways.
A Cautionary Chocolaty Ending
In conclusion, selecting a gimbal is like picking a chocolate from a box. While some decisions are based on taste, others are pure experimentations that may—or may not—leave you satisfied. Whether you tread along the lines of DIY or succumb to the ease of plug-and-play, the journey becomes half the fun, and sometimes, an exercise in existential reflection through electronics. Depending on your requirements, the setup time could be an enabler or a hindrance, but alas, after all, the joy of filmmaking often lies not in the destination, but in the journey. Maybe, just maybe, therein lies the divine comedy of it all.
And if your filming environment is the kind where you’re shooting around crowds, events, or larger productions (where setup speed matters because timing is everything), it’s worth looking at how bigger drone productions think about workflow and stability at scale—this piece on drone light displays at big events is a great reminder that “setup time” isn’t just a gimbal issue—it’s a full production system issue.
Finally, if you’re pairing your gimbal decisions with cameras that prioritize simplicity and plug-and-play shooting, it helps to see how entry-level camera drones behave in real-world use, since that impacts balancing, calibration, and overall rig friction—this 1080p drone-with-camera review is useful context for that reality check.
![Best Gimbal For DJI Mini 4 Pro In 2025 [Top Picks + Quick Deals]](https://droneaperture.com/wp-content/uploads/2025/06/best-gimbal-for-dji-mini-4-pro-in-2025-top-picks-quick-deals-1-300x171.png)
![Top 5 Drone Gimbals For Cinematic Footage Under $500 [2025 Tested]](https://droneaperture.com/wp-content/uploads/2025/06/top-5-drone-gimbals-for-cinematic-footage-under-500-2025-tested-300x171.png)
