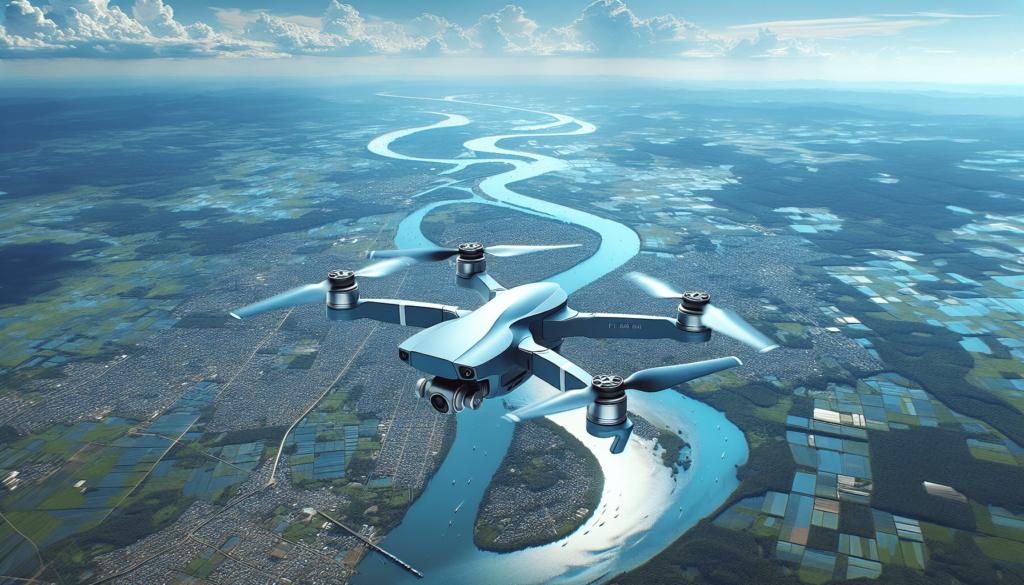
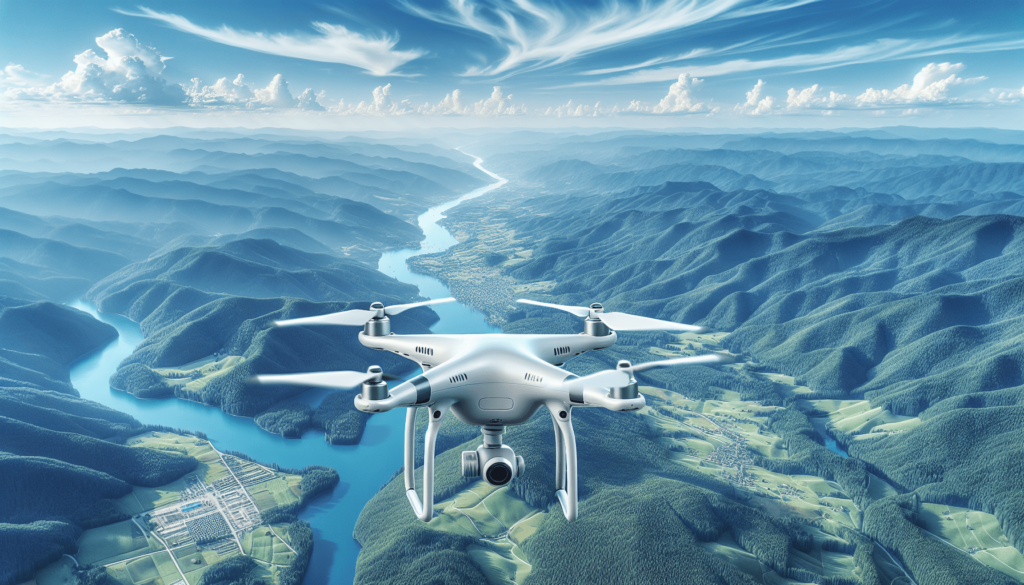
Did you ever wonder how some people capture those stunning aerial shots that seem impossible at first glance? We know the feeling all too well. It might feel like a secret club that only a select few have the key to, but we’re here to spill the beans. Aerial photography via drones isn’t just a trend; it’s a revolutionary way to see the world from a different perspective. And yes, we can all learn to master it.
Most of us have seen breathtaking photos taken from a drone and thought, “How do I even begin to do that?” Relax, we’re in this together. As it turns out, there are some tried-and-true tips that can propel our drone photography from amateur to pro in no time. Let’s chat about how we can elevate our drone game with these five proven aerial photography tips.

Understanding Your Drone
Know Your Gadget Inside Out
Before we even think about sending our drones into the sky, we need to understand what we’re dealing with. Each drone has its own unique set of capabilities and constraints. Familiarizing ourselves with these can make a world of difference in how we capture images.
Think about this: if we don’t know everything our drone can do, how can we possibly unleash its full potential? It might be akin to owning a fancy camera but only using it on auto mode. Let’s dive into those manuals or view some tutorials. It’s not just about reading specs; it’s about understanding settings and features. Knowing how to adjust shutter speed, ISO, and exposure can help us better handle different lighting situations.
Practice Makes Perfect
It’s not just a cliché—practicing with our drone is crucial. We’ll want to take it out for several test flights before any serious photographic venture. Getting comfortable with its controls and movement lets us focus more on the creative side of photography and less on the mechanics.
By practicing, we familiarize ourselves with the way it handles, the battery life, and other quirks. Think of it as prepping a dish a few times before showcasing it to others. Each flight prepares us to capture those jaw-dropping images when the moment strikes.
Planning and Preparation
Scout the Location Virtually and Physically
Why leave things to chance when we can plan ahead? Scouting our location, both virtually and physically, provides a blueprint for what to expect. Tools like Google Earth give us a virtual sense of the landscape, enabling us to pick potential spots and plan our drone paths. However, nothing beats stepping into the field and getting a feel of the environment.
During our real-world visits, we can note weather conditions, potential obstacles, or areas that might be no-fly zones. This groundwork ensures we get the best angles during our shoot and cuts down on surprises.
Check the Weather and Lighting
Mother Nature has her ways of influencing our photography, so keeping an eye on the weather is key. Clear skies might be perfect for certain shots, but those moody clouds? They can add a dramatic flair to our scenes. By simply checking weather forecasts, we align our photo sessions to the best conditions possible.
Lighting plays an equally vital role. Ever heard of the golden hour? It’s that magical time just after sunrise or just before sunset when everything is bathed in soft, warm light. We should aim to capture during these times for those enchanting photos.
Harness Composition Techniques
Rule of Thirds
Remember when we learned about the rule of thirds back in Photography 101? This principle is just as important in aerial photography. Picture dividing our image into a grid of nine equal parts. By positioning our key elements along these lines or their intersections, we create more balance and introduce intrigue in our photos.
This isn’t a hard-fast rule, though. Sometimes breaking it can result in compelling images. But having this in our toolkit ensures we consistently capture well-composed shots.
Leading Lines and Patterns
The world from the sky is full of lines and patterns that are just waiting to be captured. Roads cutting through landscapes, rivers snaking across fields, or repetitive patterns in architecture can draw our viewers into the image. These features, known as leading lines, guide the eyes and create depth and interest.
Just like with the rule of thirds, recognizing these patterns as we pilot our drone helps us frame captivating shots that tell a story.
Maximizing Drone Settings
Adjust Camera Settings for Optimal Results
The beauty of drone photography is having our camera in the sky, but we need optimal settings to make the most of it. Factors such as aperture, shutter speed, and ISO all impact our final image. While auto settings can be convenient, taking control manually can significantly elevate our work.
Imagine capturing a fast-moving scene with a slow shutter speed; the result might be a blurred mess. Let’s play with these settings, understanding how each can be adjusted for different lighting and movements to yield crisp, envy-inducing images.
Use Filters to Enhance Quality
Filters aren’t just for selfies. Just like traditional photography, aerial photography can benefit immensely from using filters like ND (Neutral Density) and polarizing filters. These help us manage exposure levels, saturate colors, and reduce the glare from reflective surfaces, providing polished and professional-looking photos.
By experimenting with different filters, we refine our ability to adapt to various lighting conditions and enhance our imagery without hopping into post-production prematurely.

Enhancing Post-Production Techniques
Choose the Right Software
Whether we love or dread it, post-production is where we perfect our masterpieces. Tools like Adobe Lightroom, Photoshop, or other editing software are our playgrounds. They allow us to touch up colors, adjust shadows, or bring clarity to the final image.
Each has its strengths, so playing around with a few can help identify a preference. Even a few tweaks in software can drastically improve an aerial photograph that previously felt flat.
Master Basic Editing Techniques
Lest we overwhelm ourselves with all the software offers, let’s stick to basics at first. Cropping, adjusting brightness and contrast, and color correction are pivotal skills that can make our photos pop. These tweaks might seem rudimentary, but combining them can elevate even the simplest shots.
Diving into advanced techniques can come later, but mastering these provides a solid foundational skill set to build upon as our aerial photography journey progresses.
Batch Edit for Consistency
Consistency can be our ally when it comes to creating a cohesive aesthetic in our photo collections. Batch editing offers us an efficient way to apply similar adjustments across multiple photos. This technique ensures our gallery or portfolio maintains a uniform look, making each series of shots flow seamlessly together.
It might seem intimidating at first, but once we find a style that resonates, batch editing helps us maintain that visual thread with ease. Experimenting early with personal or creative projects allows us to understand how different adjustments come across.
Final Thoughts
We’ve explored the skies together, and maybe now it doesn’t feel like such uncharted territory, right? With our newfound tools, what once seemed beyond our reach is now just a matter of practice and patience. Whether capturing the urban jungle from above or finding elegance in natural landscapes, drone photography opens a vast horizon for creativity.
Here’s to us and all our future sky-high adventures. The world from above is an artist’s canvas, and every flight offers a new palette. Until our next capture, may our batteries be full and skies clear.
![7 Essential Aerial Photography Tips For Beginners [2025]](https://droneaperture.com/wp-content/uploads/2025/01/7-essential-aerial-photography-tips-for-beginners-2025-1-300x171.png)

